#05: Case anatomy and pixel-perfect rendering
This post was originally written in August 2018. At the time the game was still called Hook, Line and Thinker
I have just finished the very long and very painful process of making the game handle any aspect ratio and any resolution while remaining pixel-perfect. In the process I added support for landscape layouts and completely redesigned the available case palettes.
Defining ‘pixel-perfect’
[The program I’m using to resize the window is a tool I made called Positive Aspects which you can download for free]
As you can see in the demo above, the game renders correctly no matter what aspect ratio or resolution it is resized to. Generally in the rest of this post I’m going to refer to the section of the window where all the actual gameplay happens as the ‘game’ and the handheld console surrounding it as the ‘case’. I had several criteria to meet:
- The game should always be the largest exact multiple of 128x128 that can fit in the window while still leaving enough space for the case
- On a phone or tablet the game should remain the same size when rotating between portrait and landscape
- Every element of the case should be scaled equally so that it remains internally consistent
- The relative proportions of the case should be flexible to allow the game to be as large as possible
- The size of a case pixel can be different than the size of a game pixel
- The buttons of the case must always be interactable and should never overlap
- No case element should ever overlap the game
- Every game pixel and every case pixel should always be perfectly square
- No pixel should ever be anything other than one of the 16 colors of the PICO-8 palette
Custom render pipeline
To avoid the complexities of the actual game, I made a separate prototype project with just the case rendering and a 128x128 game screenshot. It took 4 or 5 attempts before I finally got everything working and integrated the prototype into the main project.
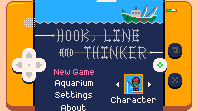
I now have a totally custom render pipeline with 3 materials: pre-game, game and post-game. The materials are functionally identical but everything with the pre-game material is obviously rendered first, then game, then post-game. Most of the case is pre-game but the buttons are post-game because if a scenario ever arises where the buttons and game overlap, the buttons should be visible since they’re how you interact with the game. This scenario shouldn’t ever happen other than for resolutions lower than 128 in one or both dimensions, such as this tiny 198x111 window:
To ensure crisp edges each material uses ‘nearest’ min and mag filters and ‘clamp to edge’ wrapping, with border extrusion enabled on the case atlas since sprites with those textures are actually scaled up. All sub-pixel rendering is disabled through the game.project file.
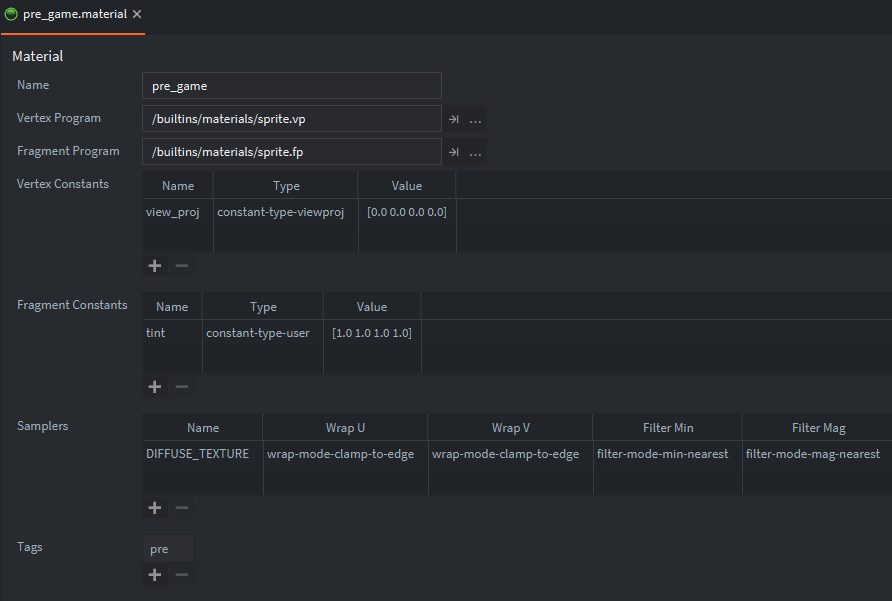
The case elements are sized and positioned to match the window size with (0, 0) at the bottom left corner. No camera manipulation necessary for the case rendering, just simple projection and view matrices and no viewport clipping. The game rendering uses a fixed 128x128 projection matrix and gets the view matrix from a camera moved around the world (as described in devlog 4). The game is placed and sized within the case through manipulating the viewport. The relevant bit of the render script looks like this:
-- setup render state
render.set_stencil_mask(0xFF)
render.set_depth_mask(false)
render.disable_state(render.STATE_DEPTH_TEST)
render.disable_state(render.STATE_STENCIL_TEST)
render.disable_state(render.STATE_CULL_FACE)
render.enable_state(render.STATE_BLEND)
render.set_blend_func(render.BLEND_SRC_ALPHA, render.BLEND_ONE_MINUS_SRC_ALPHA)
render.clear({[render.BUFFER_COLOR_BIT] = col(g_palettes[g_save_data.palette].background),
	[render.BUFFER_DEPTH_BIT] = 1,
	[render.BUFFER_STENCIL_BIT] = 0}
)

-- draw pre-game case elements
local case_projection_matrix = vmath.matrix4_orthographic(
	0, g_window_width, -- left, right
	0, g_window_height, -- bottom, top
	-1, 1) --near, far
render.set_projection(case_projection_matrix)
render.set_viewport(0, 0, g_window_width, g_window_height)
render.set_view(vmath.matrix4())
render.draw(self.pre_game_predicate)

-- draw game
render.set_projection(vmath.matrix4_orthographic(0, GAME_SIZE, 0, GAME_SIZE, -1, 1))
render.set_viewport(g_viewport_left, g_viewport_bottom, g_viewport_size, g_viewport_size)
render.set_view(self.view)
render.draw(self.game_predicate)

--draw post-game case elements
render.set_projection(case_projection_matrix)
render.set_viewport(0, 0, g_window_width, g_window_height)
render.set_view(vmath.matrix4())
render.draw(self.post_game_predicate)
On startup and whenever a resize is detected (including changing device orientation between landscape and portrait) some calculations are run to work out where the game viewport should now be and what size and position each case element should now have. The script responsible for all this is ~800 lines long, but here are some of the top-level functions that handle resizing:
local function pre_viewport_resize_case()
	-- letterboxing
	g_case_bounds.width = g_window_width
	g_case_bounds.height = g_window_height
	local aspect = g_case_bounds.width / g_case_bounds.height
	g_is_portrait = (aspect < BOUNDARY_ASPECT_RATIO)
	if g_is_portrait == true then
		CASE_WIDTH = WIDTH_PORTRAIT
		CASE_HEIGHT = HEIGHT_PORTRAIT
		MAX_SCREEN_HEIGHT = MAX_SCREEN_HEIGHT_PORTRAIT
		VIEWPORT_CENTRE = VIEWPORT_CENTRE_PORTRAIT
		aspect = math.min(aspect, 1 / MAX_ASPECT_RATIO)
		g_case_bounds.width = g_case_bounds.height * aspect
		aspect = math.max(aspect, 1 / MAX_ASPECT_RATIO)
		g_case_bounds.height = g_case_bounds.width / aspect
	else
		CASE_WIDTH = WIDTH_LANDSCAPE
		CASE_HEIGHT = HEIGHT_LANDSCAPE
		MAX_SCREEN_HEIGHT = MAX_SCREEN_HEIGHT_LANDSCAPE
		VIEWPORT_CENTRE = VIEWPORT_CENTRE_LANDSCAPE
		aspect = math.max(aspect, MAX_ASPECT_RATIO)
		g_case_bounds.height = g_case_bounds.width / aspect
		aspect = math.min(aspect, MAX_ASPECT_RATIO)
		g_case_bounds.width = g_case_bounds.height * aspect
	end
	g_case_bounds.width = math.floor(g_case_bounds.width) -- make it integer
	g_case_bounds.height = math.floor(g_case_bounds.height)
	g_case_bounds.width = g_case_bounds.width - (g_case_bounds.width % 2) -- make it even
	g_case_bounds.height = g_case_bounds.height - (g_case_bounds.height % 2)
	g_case_bounds.x = math.floor((g_window_width - g_case_bounds.width) / 2)
	g_case_bounds.y = math.floor((g_window_height - g_case_bounds.height) * 0.3)

	local x_scale = math.floor(g_case_bounds.width / CASE_WIDTH)
	local y_scale = math.floor(g_case_bounds.height / CASE_HEIGHT)
	g_case_bounds.pixel_scale = math.max(1, math.min(x_scale, y_scale))

	for i = 1, #g_case_parts do
		resize_part(g_case_parts[i], (i - 1) / #g_case_parts)
	end
end

local function calculate_viewport()
	-- work out the largest multiple of GAME_SIZE we can fit in the window while obeying MIN_CASE_BORDER size
	local limiting_dimension = math.min(g_case_bounds.width, g_case_bounds.height)
	local best_size = GAME_SIZE * math.max(1, (math.floor(limiting_dimension / GAME_SIZE)))
	if limiting_dimension - best_size < 2 * MIN_BORDER * g_case_bounds.pixel_scale then
		best_size = math.max(GAME_SIZE, best_size - GAME_SIZE)
	end

	-- don't let the size of the game occupy too much vertical space as we need room for the buttons
	while best_size / g_case_bounds.height > MAX_SCREEN_HEIGHT and best_size > GAME_SIZE do
		best_size = math.max(GAME_SIZE, best_size - GAME_SIZE)
	end

	-- calculate viewport
	g_viewport_size = best_size
	local border = (g_case_bounds.width - g_viewport_size) / 2
	g_viewport_left = g_case_bounds.x + border
	g_viewport_bottom = g_case_bounds.y + (VIEWPORT_CENTRE * g_case_bounds.height) - (g_viewport_size / 2)
	g_viewport_bottom = math.floor(0.5 + g_viewport_bottom)
end

local function post_viewport_resize_case()
	local surround = nil
	for i = 1, #g_case_parts do
		if g_case_parts[i].name == "screen_surround" then
			surround = g_case_parts[i]
			break
		end
	end
	if surround ~= nil then
		local id, size
		if g_is_portrait == true then
			id = surround.port_id
			size = go.get("port_"..surround.name.."#sprite", "size")
		else
			id = surround.land_id
			size = go.get("land_"..surround.name.."#sprite", "size")
		end

		local pos = go.get_position(id)
		pos.x = g_case_bounds.x + g_case_bounds.width / 2
		pos.y = g_case_bounds.y + g_case_bounds.height * VIEWPORT_CENTRE
		go.set_position(pos, id)
		surround.position = pos

		local scale = go.get_scale(id)
		scale.x = (g_viewport_size + 2 * SURROUND_SIZE * g_case_bounds.pixel_scale) / size.x
		scale.y = (g_viewport_size + 2 * SURROUND_SIZE * g_case_bounds.pixel_scale) / size.y
		go.set_scale(scale, id)
	end
end

local function resize_case()
	pre_viewport_resize_case()
	calculate_viewport()
	post_viewport_resize_case()
end
To avoid floating point rounding issues and ensure pixel-perfect rendering it was crucial that all x/y positions and scales ultimately end up as integers. The second parameter passed to resize_part is the z-coordinate for each case element: (i - 1) / #g_case_parts. The g_case-parts table is a long list defining the size, position and color of each case element listed from back to front. Setting the z coordinate of each element appropriately in the collection would have been extremely error prone and time consuming; setting it programmatically makes it trivially easy to add and remove case elements as the design was iterated. By hiding elements above a certain z value it also made it fairly easy for me to create this visualisation showing the overall back-to-front render order, with pre-game elements followed by game elements followed by post-game elements:

Case anatomy
The case is made of ~60 pure-white sprites pixelled at a resolution of 160x90 and arranged in landscape and portrait layouts. There is some redundancy here from several iterations of the case design. If the aspect ratio (width ÷ height) is less than 1 then the portrait layout is enabled and resized, otherwise the landscape one is.
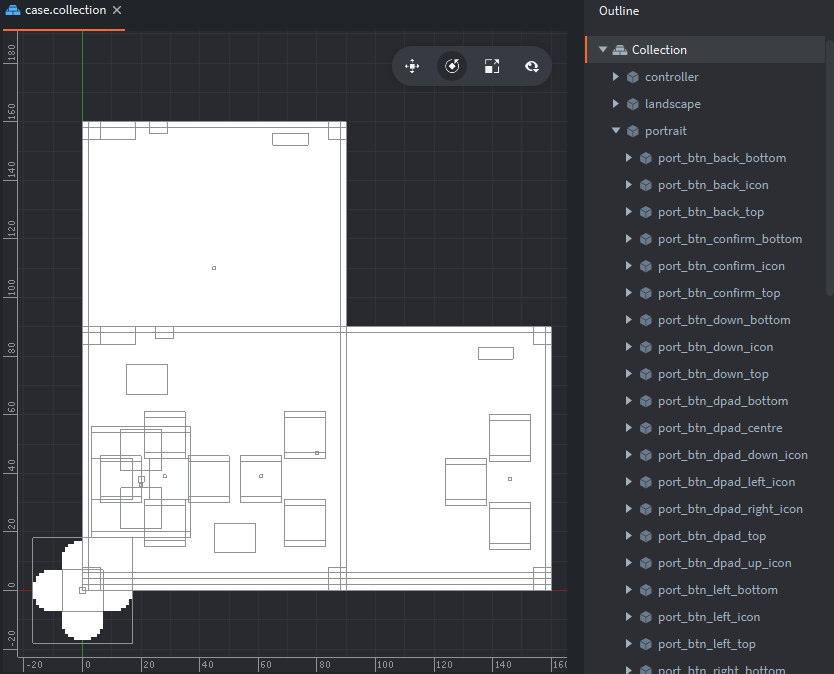
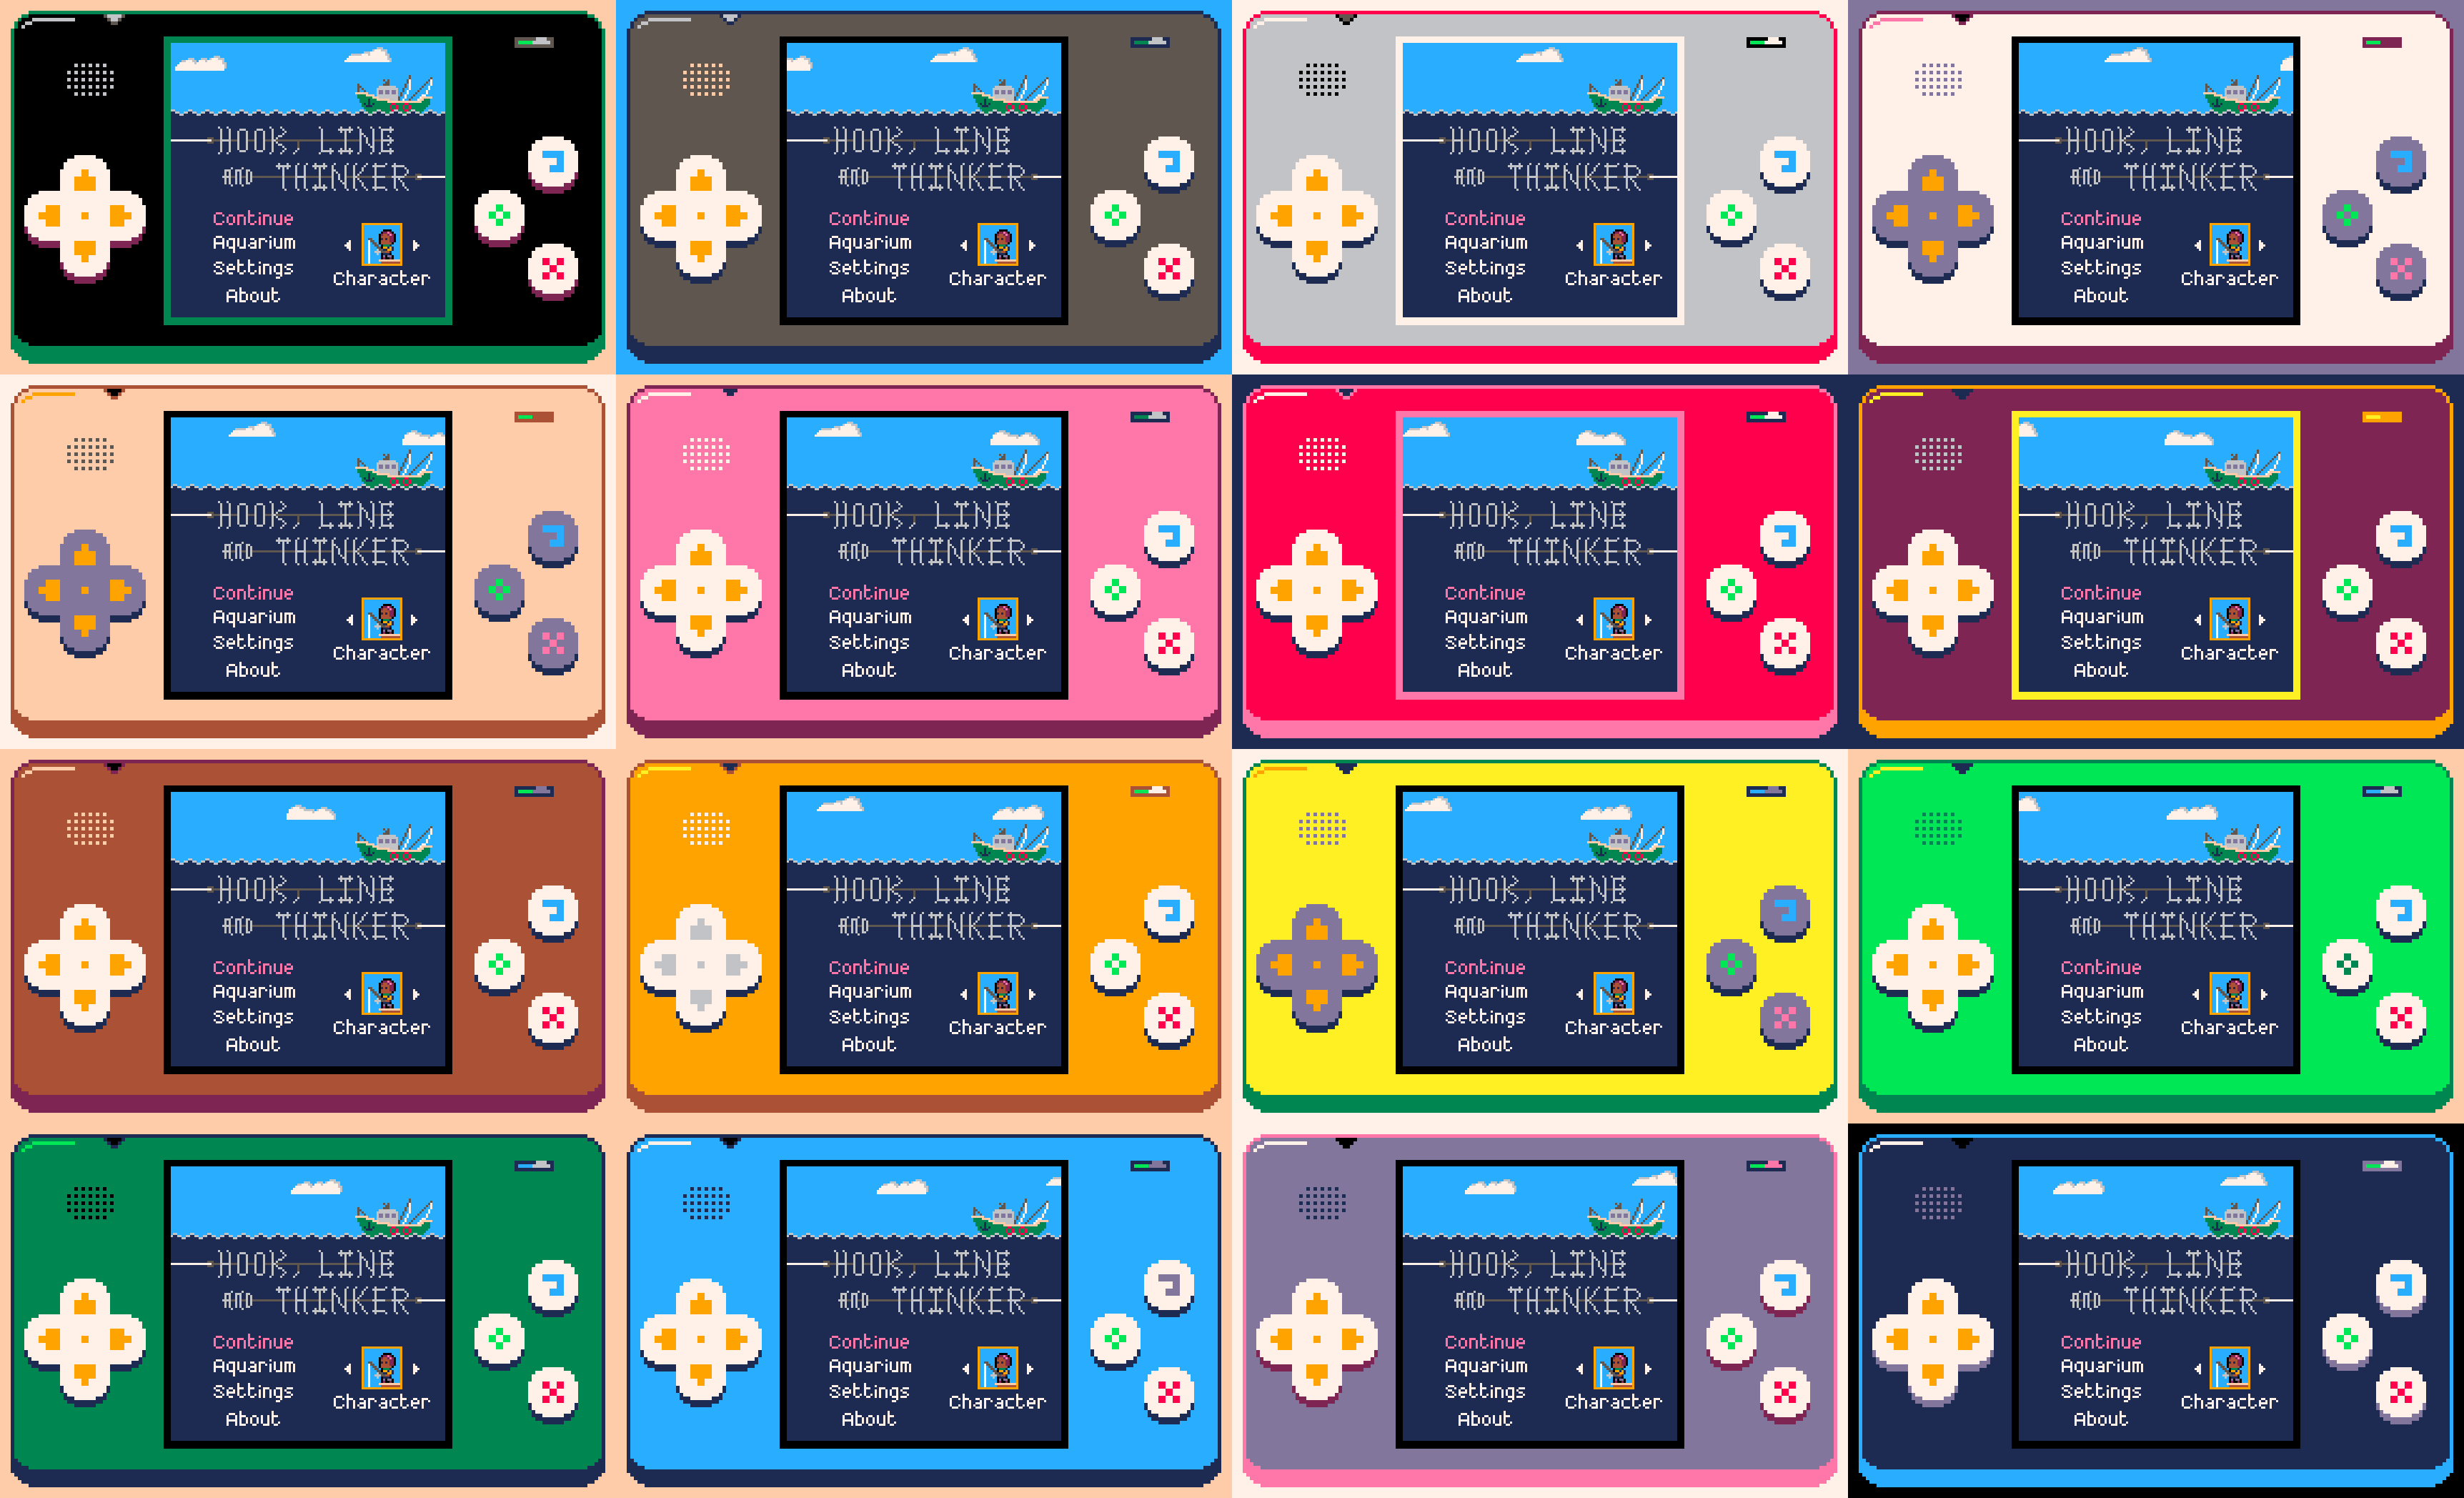
The reason all the sprites are pure-white is because players can choose one of 16 color variations, one with a base color for each of the 16 colors in the PICO-8 palette. I had to condense the arrow buttons into a d-pad for the landscape layout in order to keep the game centred.

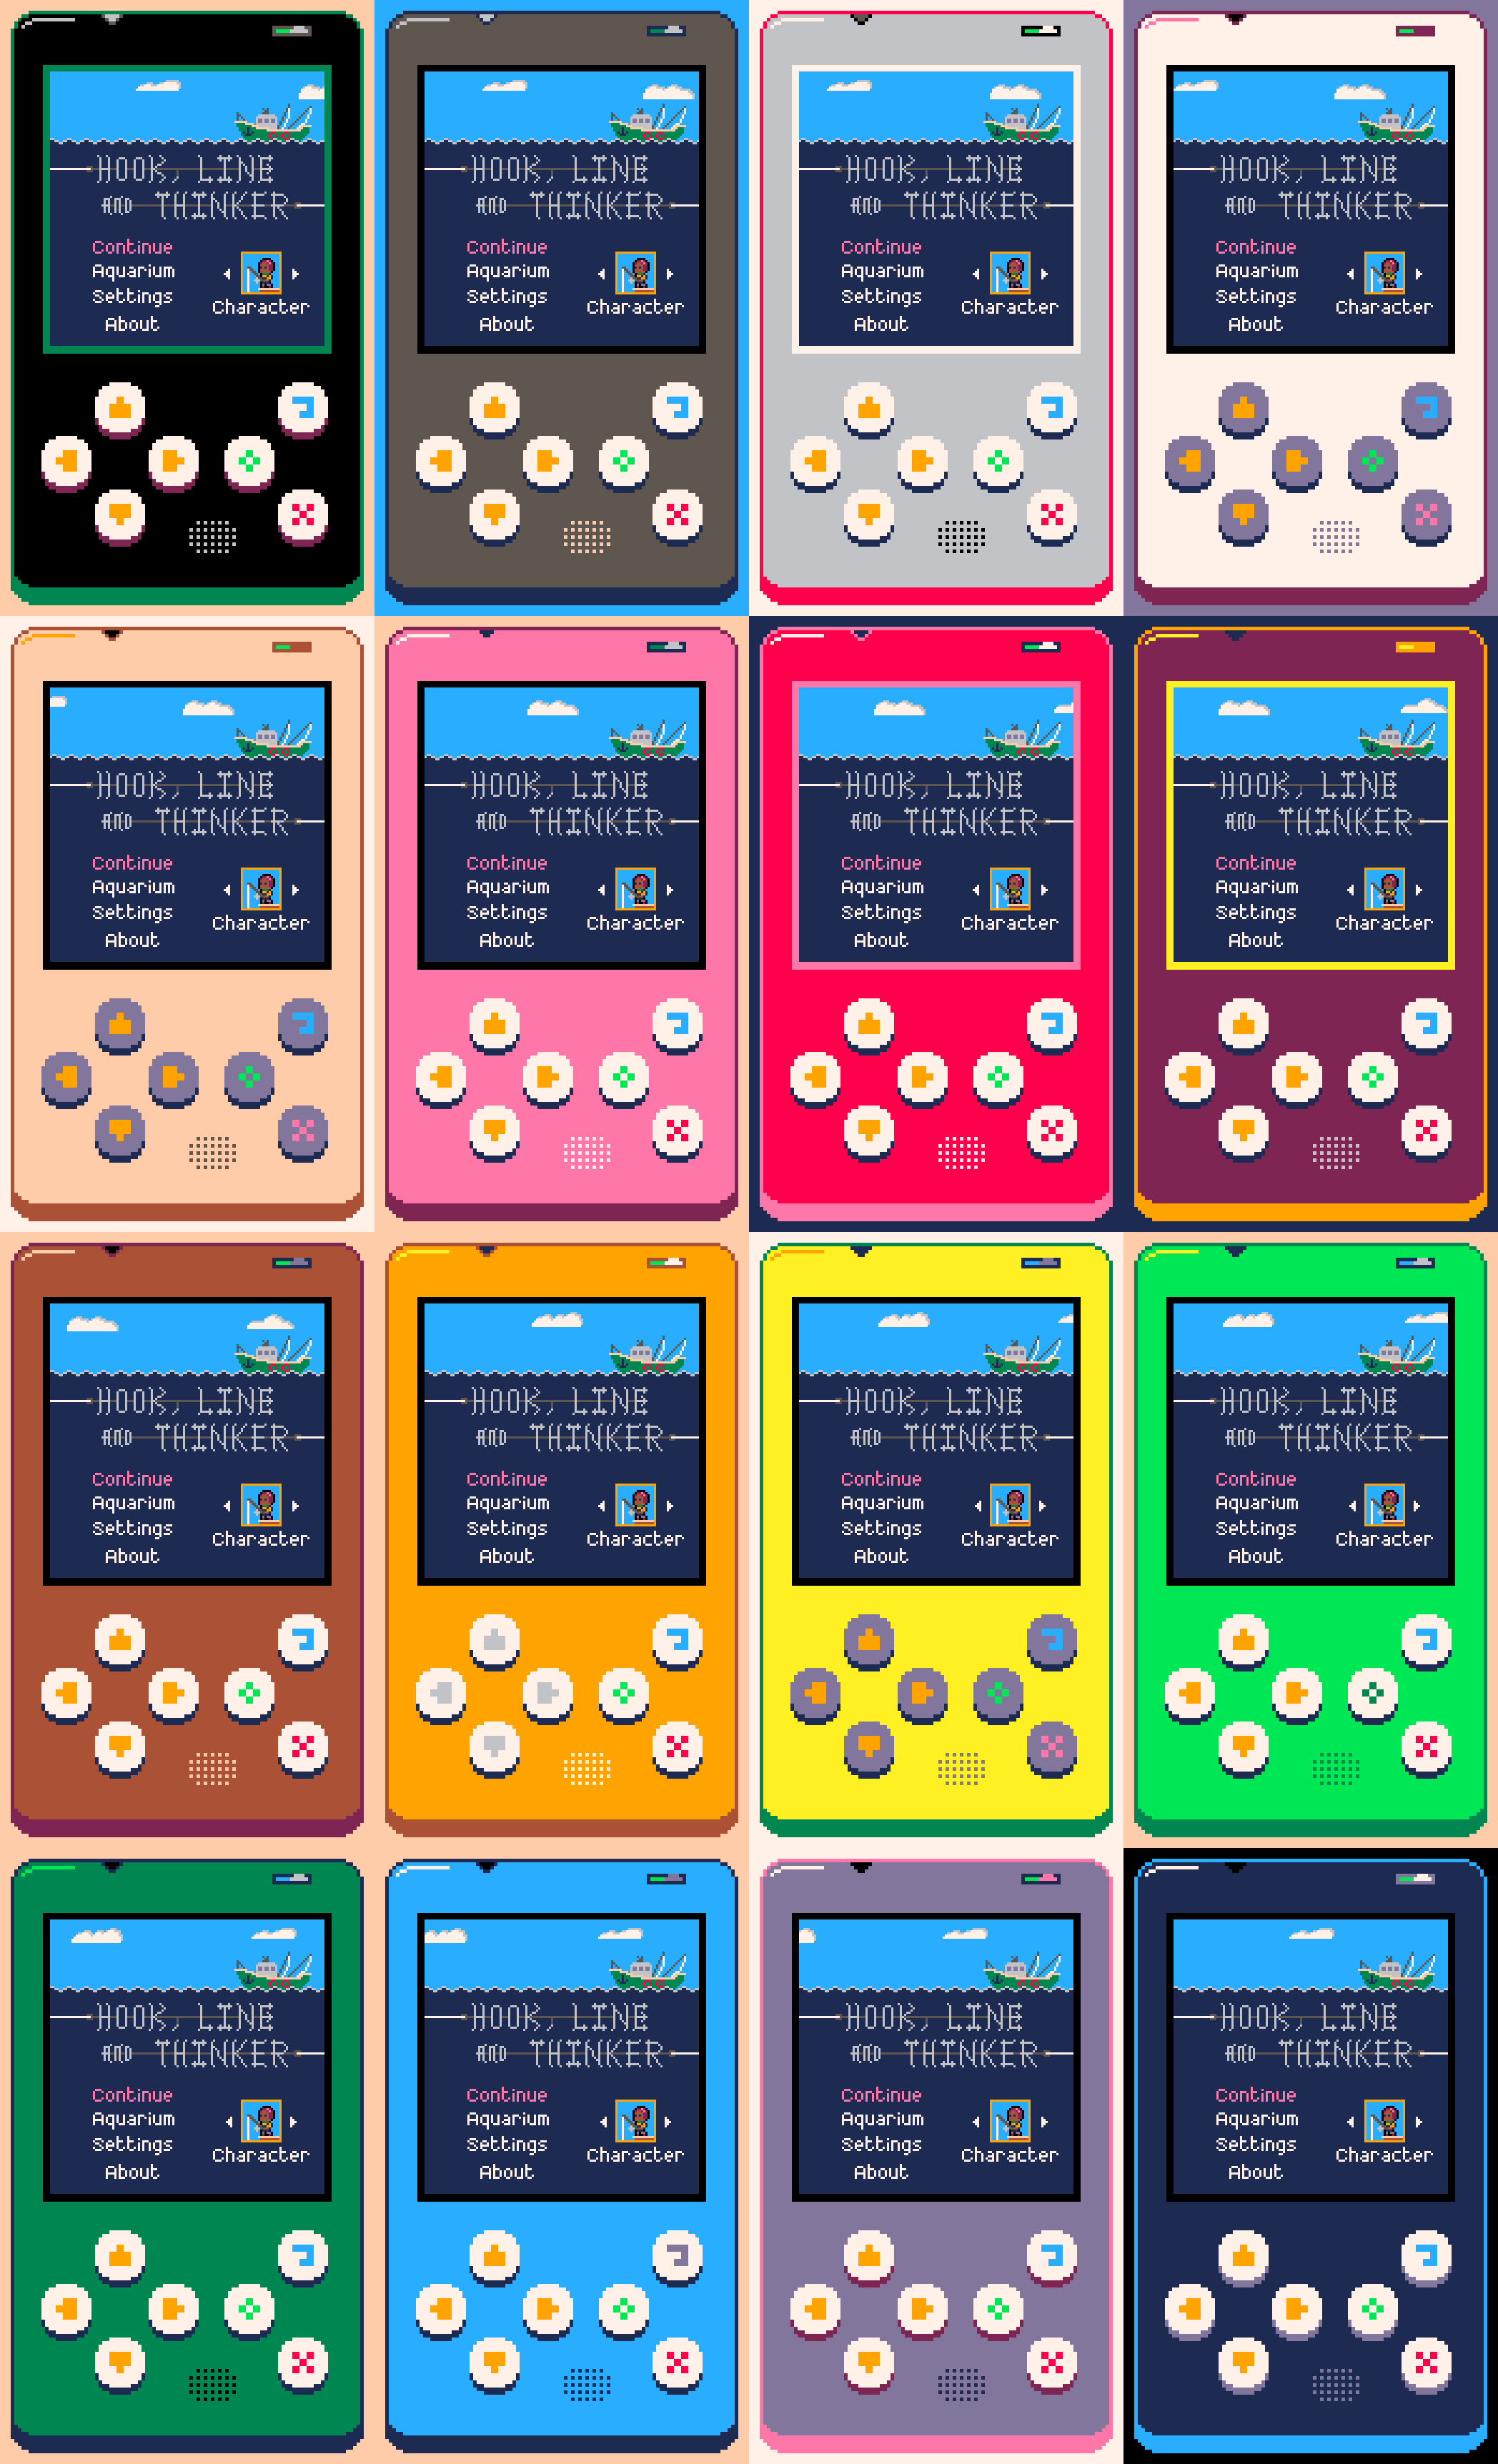
The result
In total this was around 4 months of work and the game should now render correctly and be fully playable on every device in any orientation, including all future devices with whatever weird resolutions and aspect ratios the device manufacturers throw out next. If that sounds like a long time, bear in mind that I have a full-time job and can only work on Hook when time/energy permits (typically weekends). One month of that time was spent making the Positive Aspects tool; it does more things than I strictly needed it to do but it’ll be useful for every future project, plus completing and releasing a smaller project was a great motivator when returning to The Big One.
Curious Fishing
An aquatic puzzle game
| Status | Released |
| Author | RhythmLynx |
| Genre | Puzzle |
| Tags | blocks, chiptune, fantasy-console, Fishing, PICO-8, Pixel Art, Retro, Sokoban, underwater |
| Languages | Arabic, German, English, Spanish; Castilian, French, Italian, Japanese, Korean, Portuguese (Brazil), Russian, Chinese, Chinese (Simplified), Chinese (Traditional) |
| Accessibility | Configurable controls |
More posts
- #15: Why development took so longNov 28, 2022
- #14: Devlog updates and launch statsNov 28, 2022
- #13: Release!Nov 28, 2022
- #12: Localizing a low resolution pixel art gameNov 28, 2022
- #11: OrganizationNov 27, 2022
- #10: Audio techNov 27, 2022
- #09: Interview with sound designer Andrew DoddsNov 27, 2022
- #08: (Work)flow: artNov 27, 2022
- #07: Design iteration: player movementNov 25, 2022
- #06: UndoNov 25, 2022

Leave a comment
Log in with itch.io to leave a comment.